Over the past several years we have seen Mason Jars become more and more popular. There are so many creative ideas you can do to create beautiful crafts.
Don’t have any Mason Jars around? You can also use old jar sauce cans for most of the projects as well.
No matter what you choose to work with, we think you'll love these mason jar crafts!
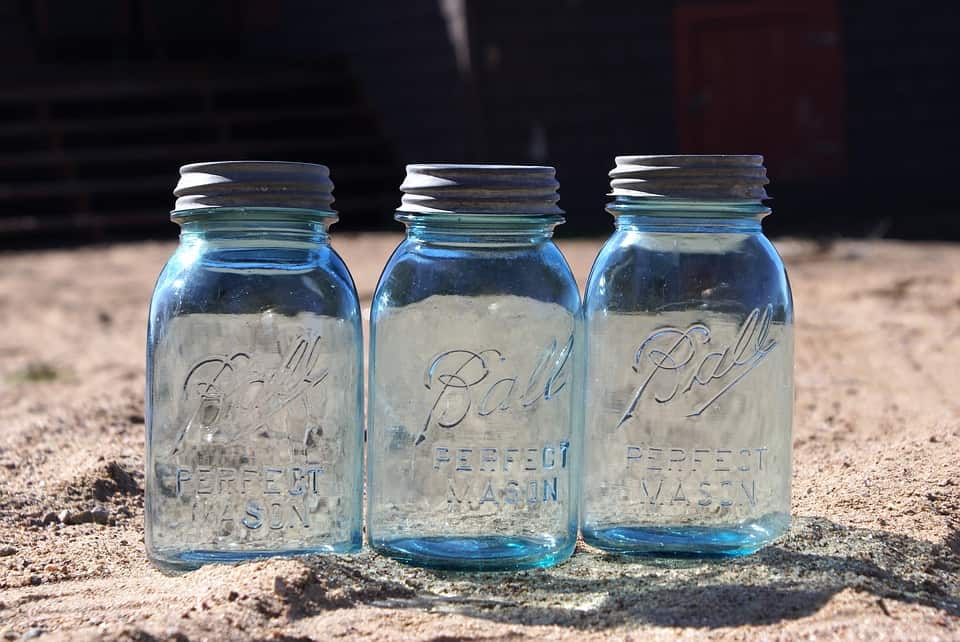
Here are some of our favorite mason jar craft ideas:
Photo Frame Mason Jar

Source: https://farmfoodfamily.com/mason-jar-ideas-for-valentines-day/
You will need paint, scissors, tape, mason jar, and a stencil of the shape you want the photo area to be.
How to make this:
- Start out with finding the photo you would like to feature.
- Then tape the shaped stencil onto the mason jar
- Paint around the shape
- Let dry
- Once dry remove the stencil
- Tape the photo onto the inside of the jar
- Add colorful flowers or whatever you like into the jar
Scented Mason Jars Candles
Source: https://hearthandvine.com/make-mason-jar-oil-candle-lamp/
To make these candles you will need mason jars, olive oil, cinnamon sticks, dried orange slices, small pine cones, and essential oils.
How to make:
- If you have one you can use a wooden skewer or old pencil tp position the items where you want them
- Add essential oils to your olive oil
- Fill your jar with oil
- Add your floating wick
*Make sure to never leave candles unsupervised.
Mason Jar Soap Dispensers
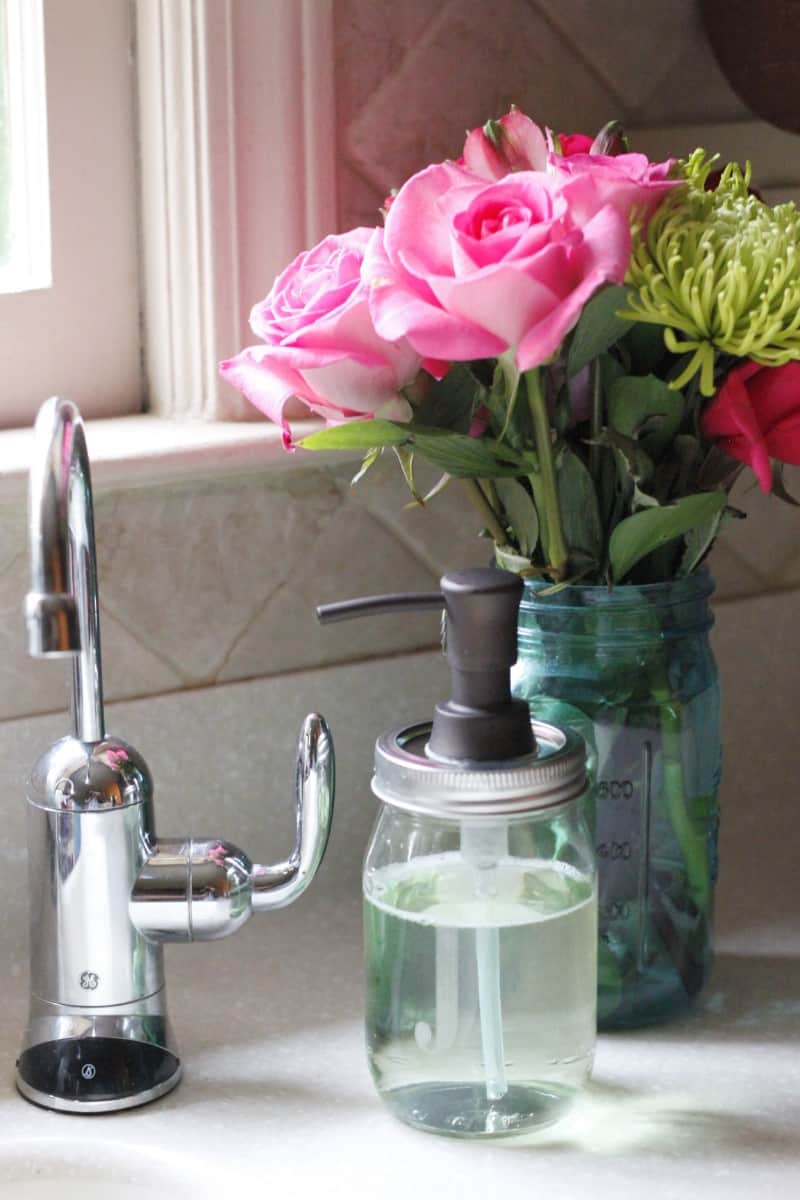
Source: https://www.personalcreations.com/blog/mason-jar-soap-dispenser
To make the DIY Mason Jar Soap Dispenser you will need Mason Jar with lid, soap pump, drill with a large diameter bit, strong glue or super glue, and soap.
How to make:
- Make a hole in the lid large enough to fit your soap dispenser pump
- Test the fit to ensure it fits snug
- Measure the tube on the pump and cut off the excess from the bottom to ensure it fits in the mason jar (cut at an angle to avoid poor suction)
- Squeeze your glue into the bottom of the pump and insert it into the lid hole
- Wipe away excess glue
- Add glue onto the bottom of the lid around the pump
- Make sure to let it dry completely
- Add your favorite soap and screw on the lid
Mason Jar Tissue Holders
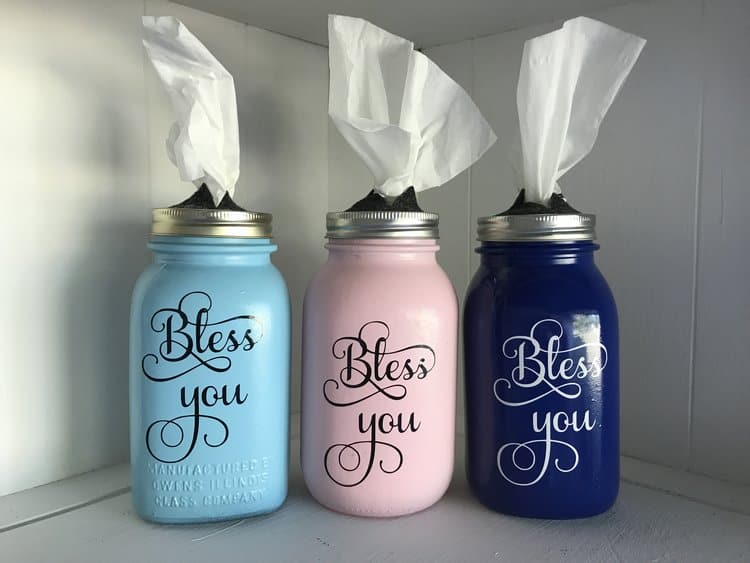
Source: https://www.daytodayadventures.com/blog/how-to-paint-mason-jars-so-they-dont-chip
To make a Mason Jar Tissue Holder you will need smooth-sided mason jars, spray paint or chalk paint, a foam brush, sponge or sponge makeup wedge, waterbased clear matte Polycrilic, silhouette or Cricut cutting machine, transfer tape, oracel 651 vinyl, glue gun, craft felt, OLFA rotary circle cutter, tissues, and a Bless You Decal.
How to make:
- Clean your jars with alcohol
- Use your foam brush to paint a layer of Polycrlic onto the jar and let it dry for at least 30 minutes
- Paint your jars and let dry
- Use the foam brush to add another layer of Polycrilic to help seal the paint and let dry completely
- Preheat oven to the lowest heat (around 170 degrees) and bake your jar for about 20 minutes
- Design and cut the words Bless You or whatever you like onto the jar
- If using a decal apply to your jar with transfer tape
- Cut a 2.5-inch circle of felt and then cut an X in the center of the circle
- Use a glue gun to attach the felt circle to a metal lid
- Fill the jar with tissues
- Pull tissue through the cut in the felt and screw on your lid
Mason Jar Chandelier
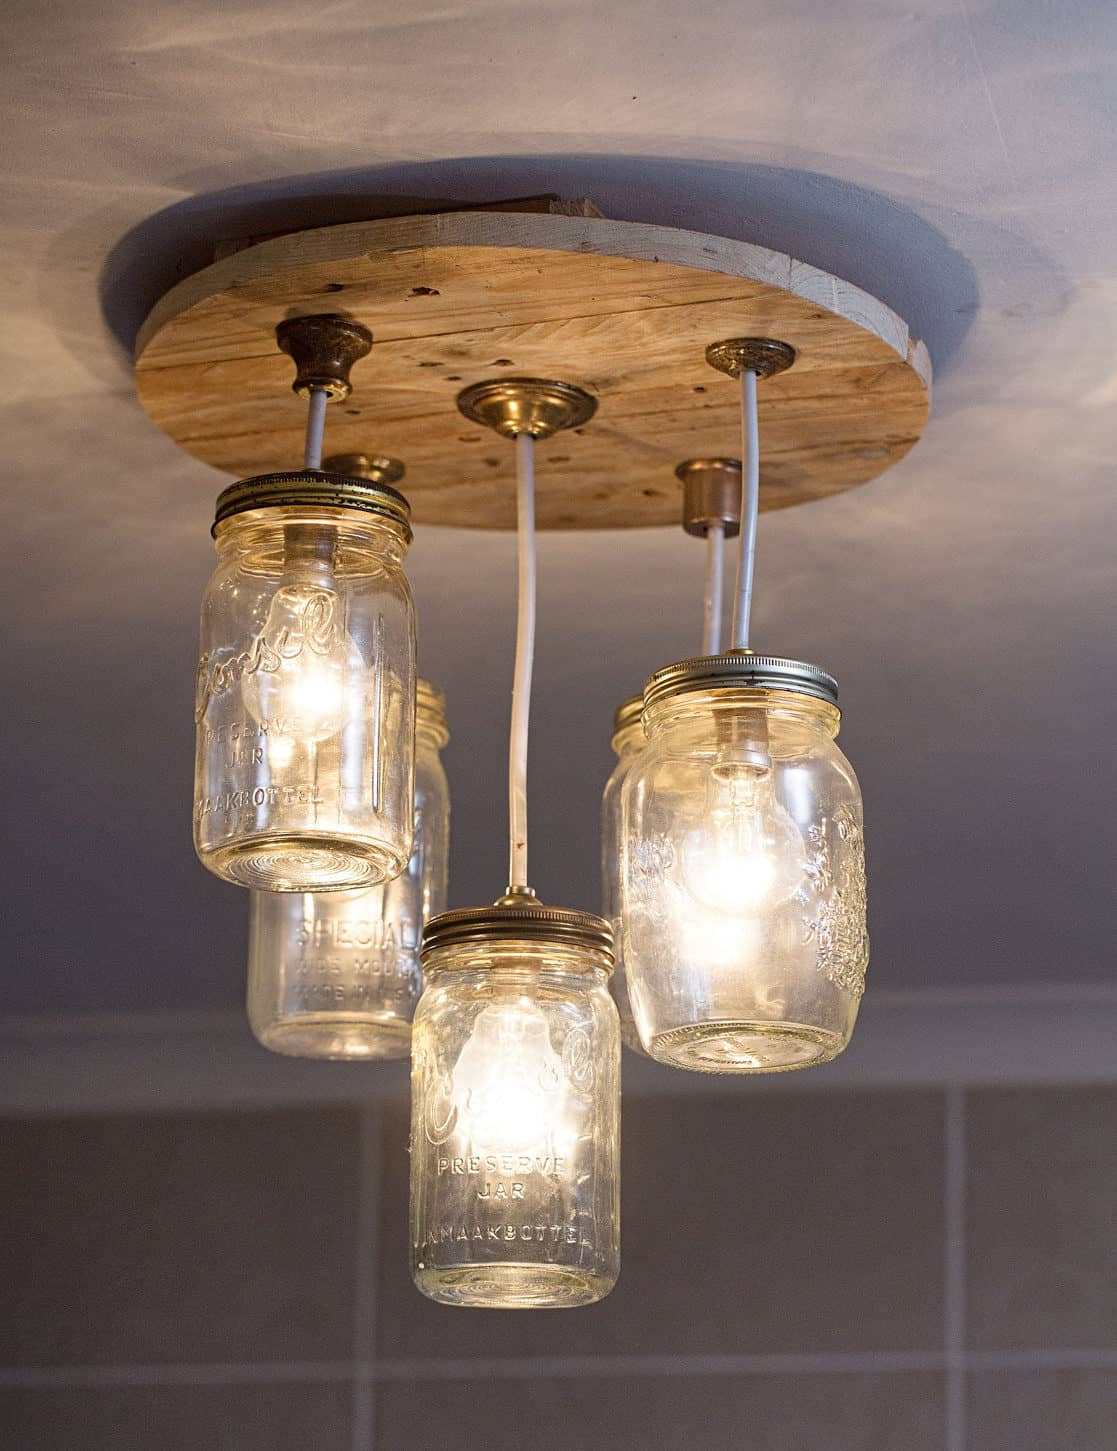
Source: https://www.gardenandhome.co.za/decor/diy/diy-mason-jar-chandelier/
To make a Mason Jar Chandelier you will need safety gloves, a drill, 25mm drill bit, 5 mason jars with screw-on lids, 5 light fittings, 5m of 8mm electrical cord, cutter, a piece of wood, pencil, jigsaw, 8mm drill bit, nails, and sturdy screws.
How to make:
- Using your 25mm wood drill bit make a hole in the center of each lid big enough for the electrical light fitting to fit securely
- Use a smaller drill bit to make small holes around the center hole (these will allow hot air to escape when the lights are on)
- Attach the light fittings to each one of your lids and tighten
- Cut the electrical cord into 5 equal pieces and attach them to the light fittings
- Using your jigsaw, cut a circle with a diameter of around 40cm from the wood of your choice
- Position your jars in the way you will want them to hang from the wood and mark that spot with your pencil
- Drill through the wood on each mark using an 8mm drill bit
- Pull the electrical cable through each hole and adjust it to the desired height and strip its ends (you can keep the cords in place with a bent nail or two)
- Connect the wires to each other so that all the blue wires from one connection and the brown wires for another connection
- Attach these wires to the electrical connection in your roof (Secure the light fitting to your ceiling with the screws).
Need help finding materials to make all these mason jar crafts projects? Check out our post on 11 popular online craft stores!
Happy crafting!
